Site Identity
Step-1:
Log in to your WordPress Dashboard, and install the required plugin kirki Customizer Framework. After plugin installation, go to your WordPress Site.

Step-2:
Click on the “Customize” button at the top of the page.

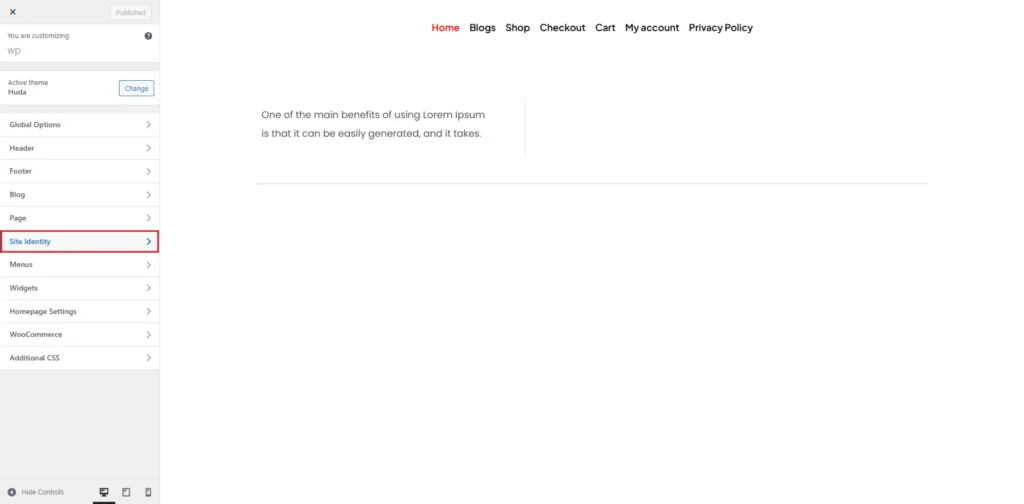
Step-3:
Navigate to Site Identity.
Step-4:
The Site Identity section in the Customizer provides several customization options. You can upload a Logo by clicking the “Select Logo” button and choosing an image from your media library. This logo will be displayed in your site’s header, reinforcing brand identity.
Additionally, you can enter a Site Title and Tagline in their respective fields. The site title represents the name of your website, while the tagline is a short description or slogan that appears below the title, depending on your theme settings. If you prefer not to display these, you can uncheck the Display Site Title and Tagline option.
The Logo Default Width setting allows you to adjust the logo size for optimal appearance on different screen sizes. Similarly, the Logo Secondary option lets you upload an alternative logo, which can be used in different areas of your theme. You can also define the Logo Secondary Width to maintain consistency in design.
Finally, the Site Icon option enables you to upload an icon that represents your website in browser tabs, bookmark bars, and mobile apps. The recommended size for a site icon is 512×512 pixels to ensure clarity across devices.
