HEA Postgrid
This documentation provides a step-by-step guide on how to use the Postgrid widget to display a diverse collection of posts on your website seamlessly.
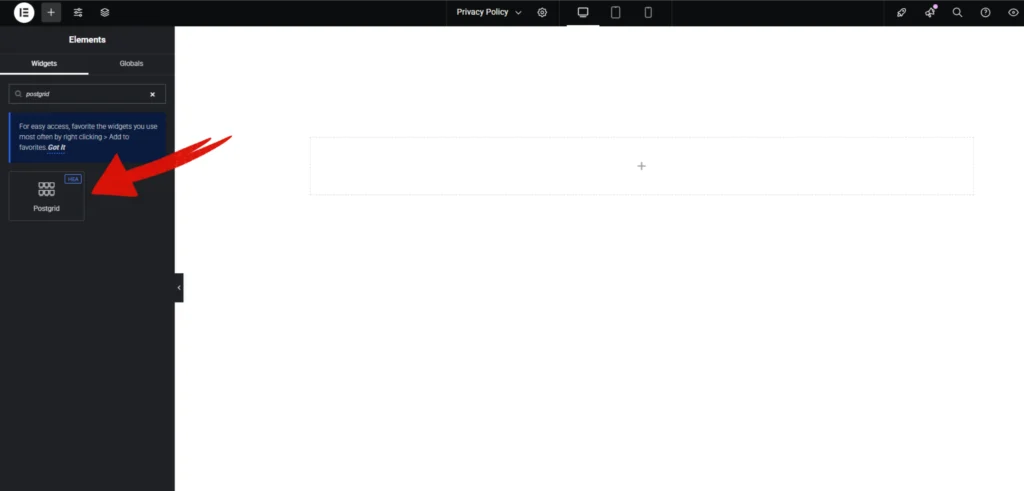
Step-1:
Open Elementor Editor Search for “Postgrid” in the Elementor panel, drag the “Postgrid” widget to a container on your page.
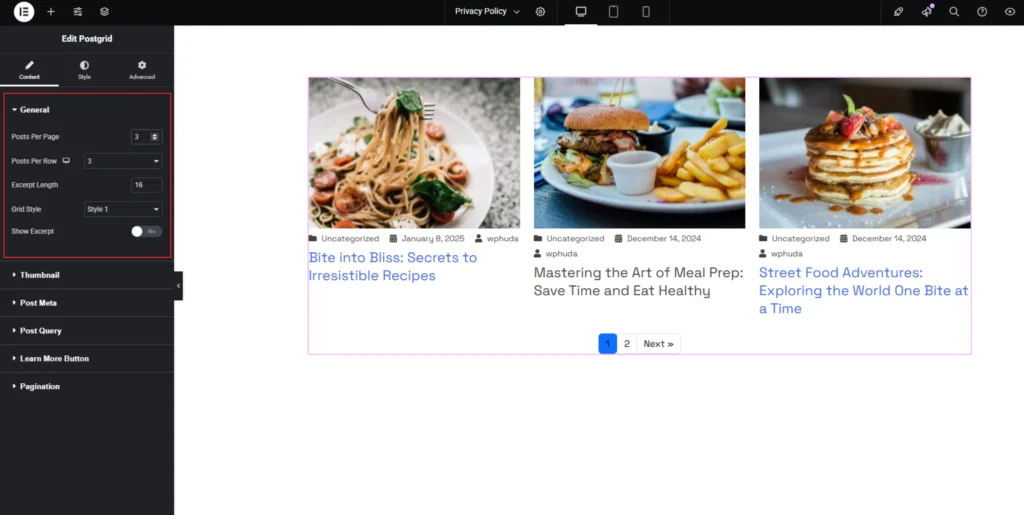
Step-2:
In the “General” section, start by selecting a style, adjusting the number of columns, setting the posts per page, excerpt length, . Enable or disable the “Show Except”.
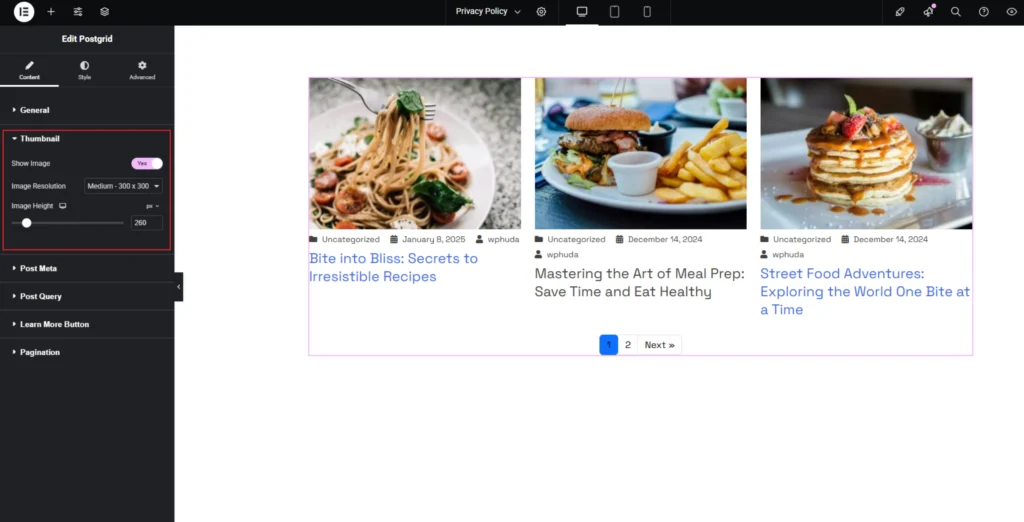
Step-3:
In the “Thumbnail” section, choosing a specific image resolution.
Step-4:
In the “Post Meta” section, Upload your icons or choose from icon library. You can enable or disable the Show Date, Show Comments, Show Author, and Show Category based on your requirements.

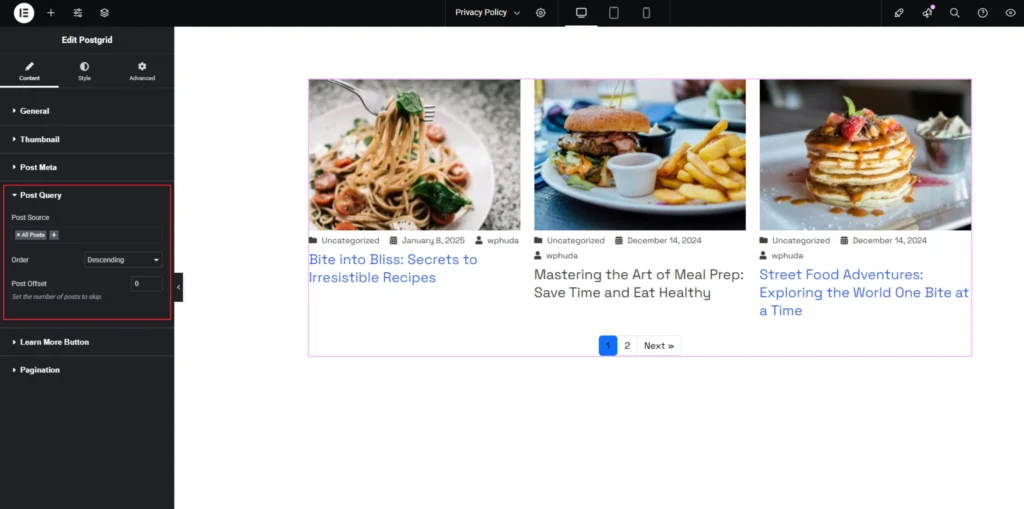
Step-5:
In the “Post Query” section, configure the Post Source, Order, and Post Offset settings.
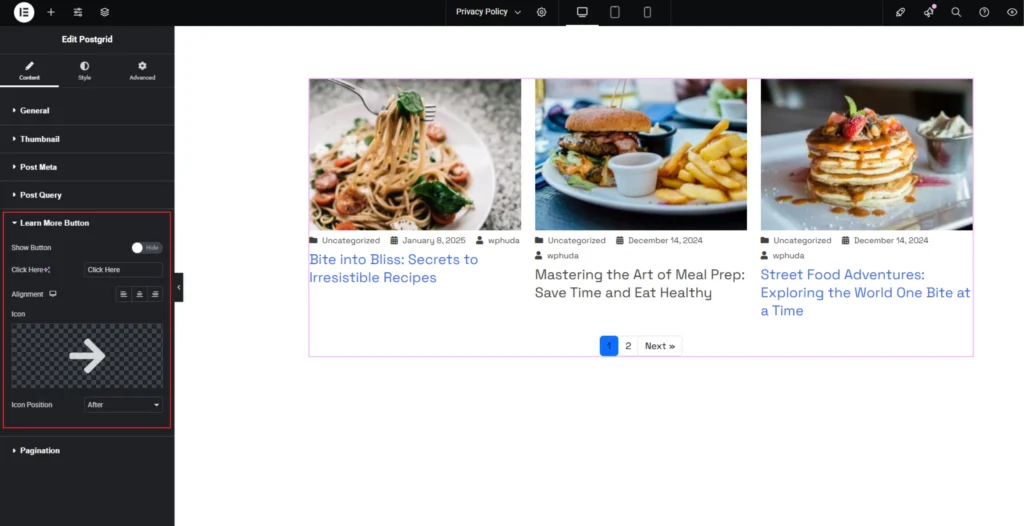
Step-6:
The Learn More Button section allows you to add a customizable button. You can enable or disable the button using the Show Button toggle. The Title Here field lets you set custom text for the button. In the Alignment option, you can adjust the button’s position. You can also choose an icon for the button and set its position to appear either before or after the text.
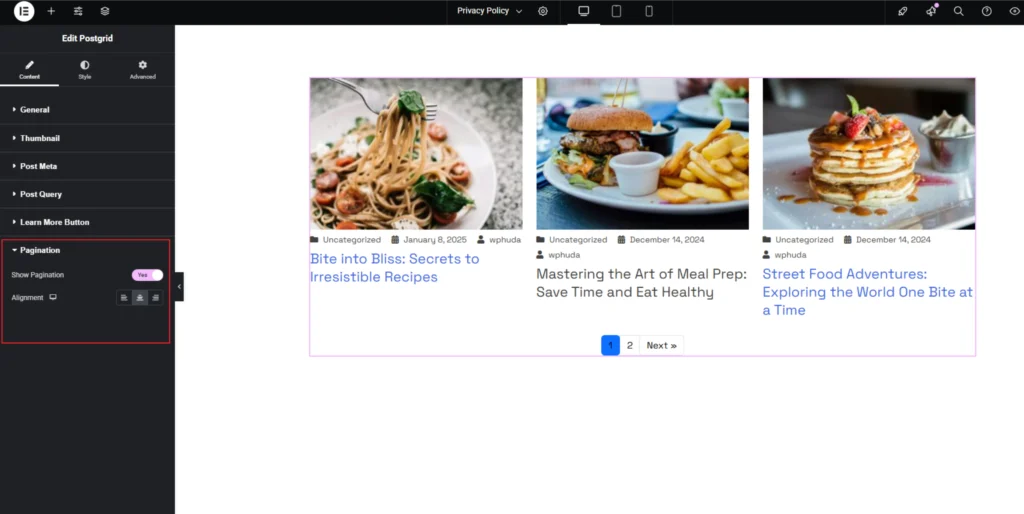
Step-7:
The Pagination section allows you to enable and customize pagination. Toggle the Show Pagination option to enable or disable pagination. Adjust the Alignment setting to position the pagination.
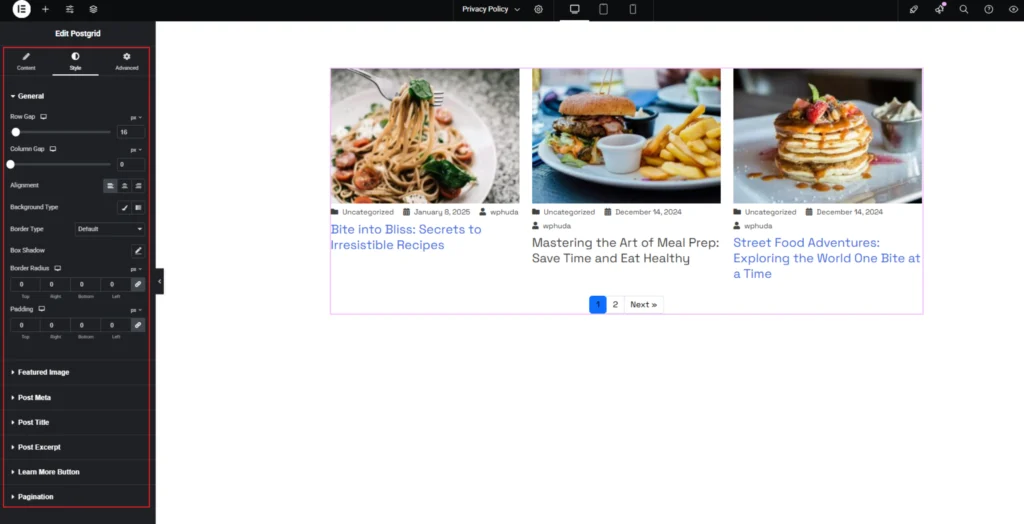
Step-8:
In the “Style” section, customize the appearance of the Layout, Thumbnail, Content, Title, Excerpt, Taxonomy, Meta, Read More button, and Hover effects to match your design preferences.