HEA Pricing
Refer to the documentation below to get a detailed guide on how to use the Pricing widget effectively.
Step-1:
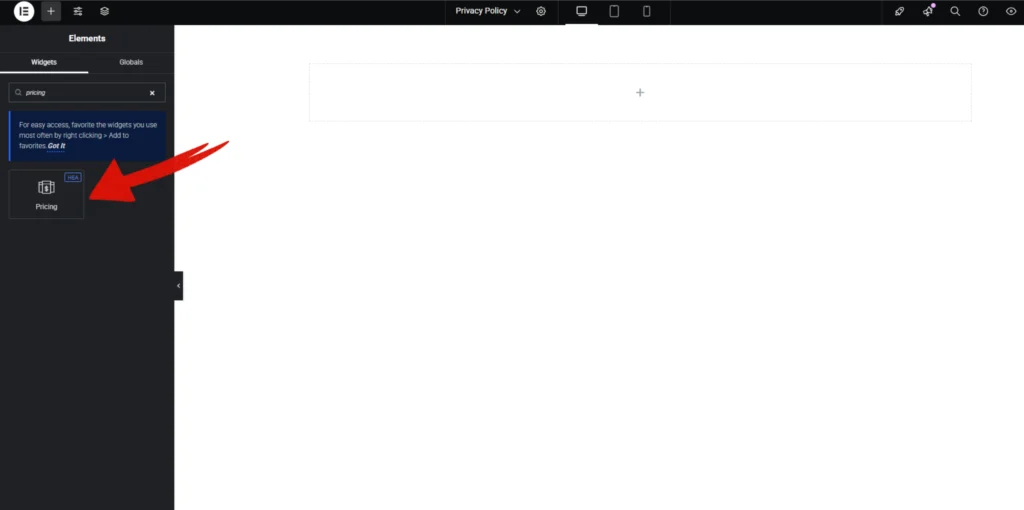
Open Elementor Editor Search for “Pricing” in the Elementor panel, drag the “Pricing” widget to a container on your page.
Step-2:
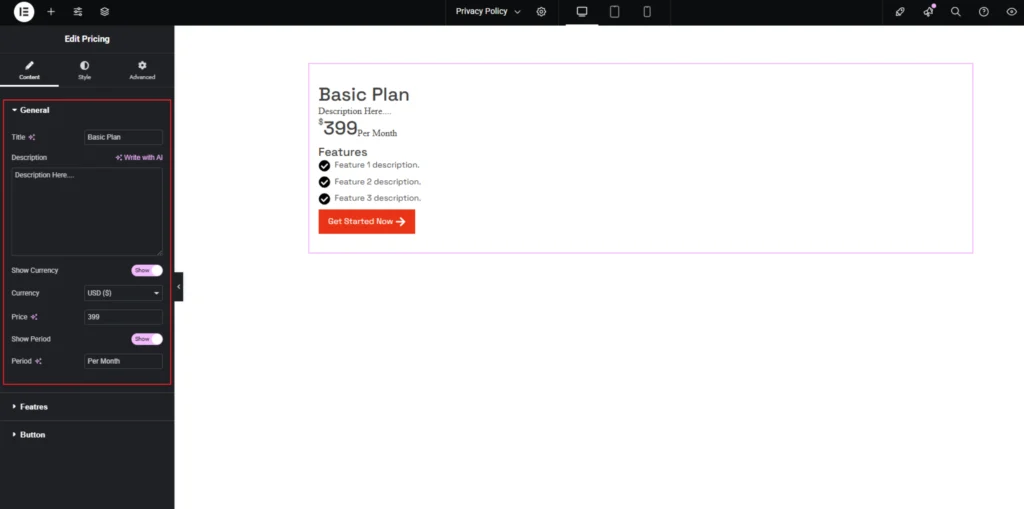
In the General section, you can configure the details of your pricing plan. Start by setting the Title and adding a brief Description to explain the plan. You can enable the Show Currency option to display a currency symbol and select the preferred Currency format from the dropdown. Enter the Price to define the cost of the plan. If you want to show a billing cycle, toggle the Show Period option and set the Period.
Step-3:
The Features section allows you to list the benefits of your pricing plan. You can enable or disable the Show Features option to display or hide this section. Set a Title for the features list. Use the Add Item button to include additional features.

Step-4:
Each feature in the Features section can be customized individually. You can assign an Icon to visually represent the feature. Below the icon, there is a Description field where you can add details about the feature.

Step-5:
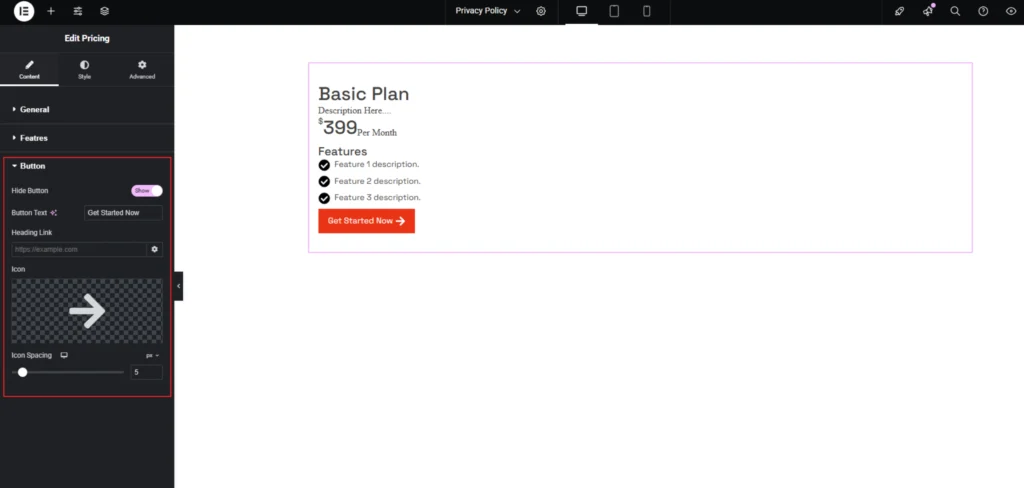
You can choose to show or hide the button, set the button text, and add a link to direct users to a signup or purchase page. Additionally, you can select an icon to enhance the button’s visual appeal and adjust the icon spacing for better alignment.
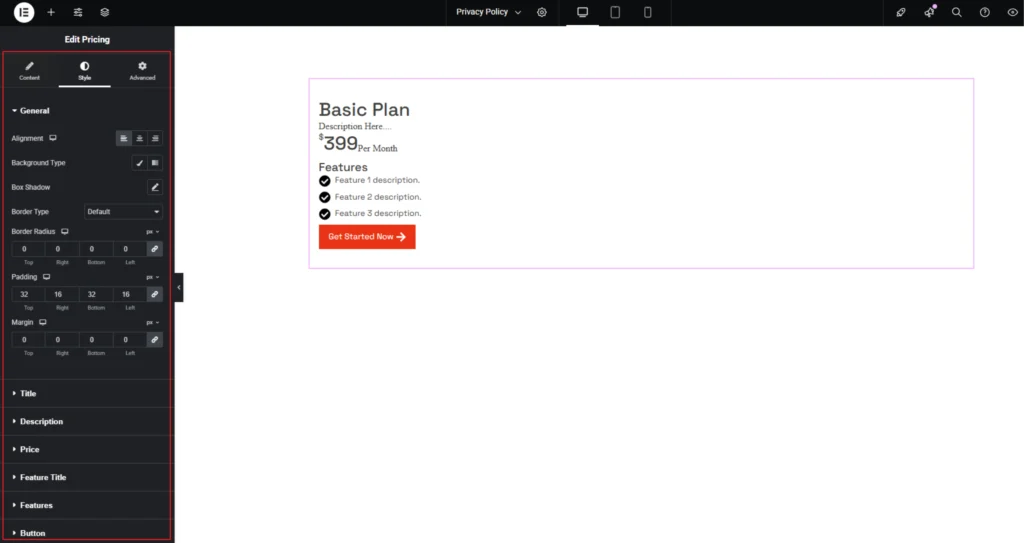
Step-6:
Adjust the pricing alignment using the “Alignment” option. Customize the pricing style from the “Style” section.