Buttons
Step-1:
Log in to your WordPress Dashboard, and install the required plugin kirki Customizer Framework. After plugin installation, go to your WordPress Site.

Step-2:
Click on the “Customize” button at the top of the page.

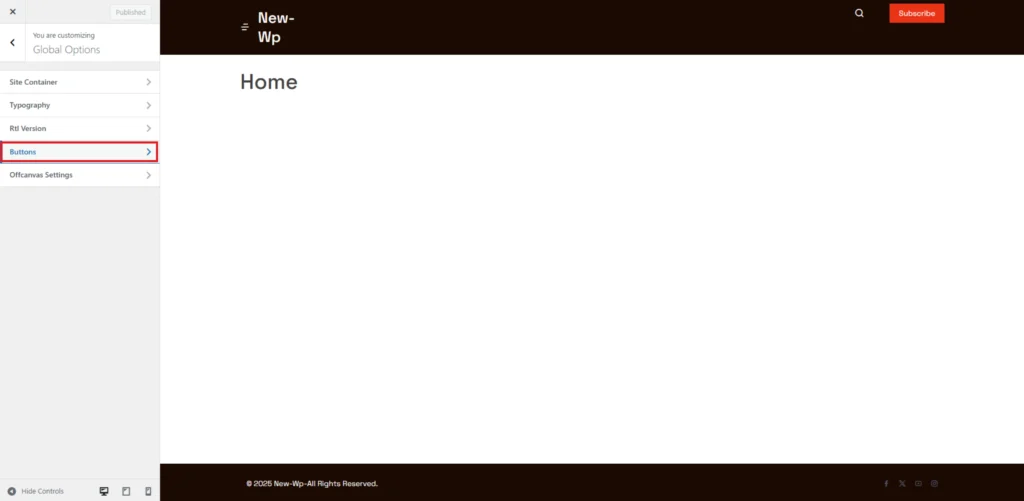
Step-3:
Navigate to Global Options> Buttons.

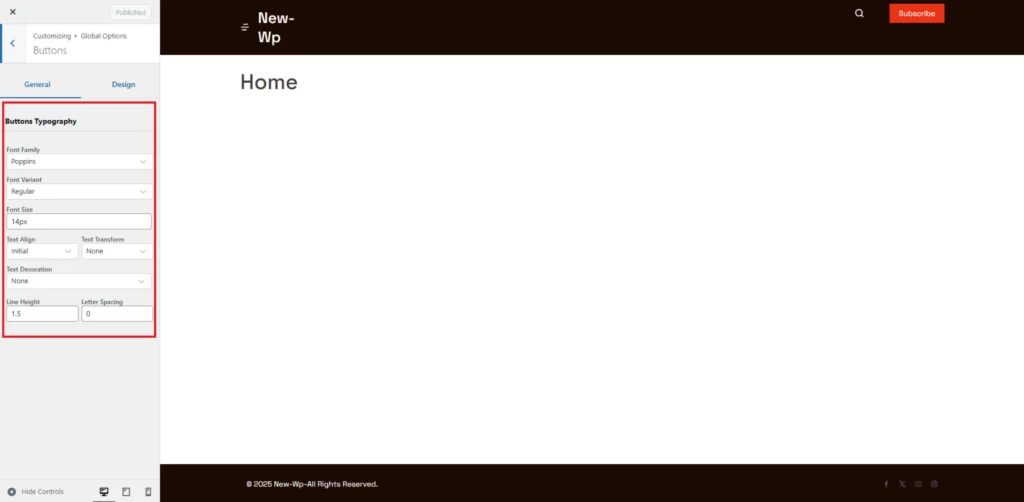
Step-4:
These settings allow users to globally customize the appearance of button text on the website. The Font Family option lets users select a specific font. The Font Variant determines the weight or style of the font. The Font Size controls the text size. The Text Align option adjusts the alignment of text within buttons, while Text Transform allows users to modify text case, such as uppercase, lowercase, or none. Additionally, the Text Decoration setting provides options for underlining or other styling effects. The Line Height parameter sets vertical spacing between lines of text, and Letter Spacing adjusts the space between characters, set to 0, meaning no extra spacing. These options help ensure buttons maintain a consistent and visually appealing design throughout the website.
Step-5:
These settings allow users to control the padding and color of buttons throughout the website. The Buttons Padding section specifies the spacing inside the button, with individual controls for the top, right, bottom, and left padding. Below, the Button Text Color option lets users define the color of the button text. The Buttons Background Color determines the fill color of the button. Finally, the Buttons Border Color controls the outline color of the button. These customization options help in designing visually appealing and consistent buttons across the website.
