Sidebar
Step-1:
Log in to your WordPress Dashboard, and install the required plugin kirki Customizer Framework. After plugin installation, go to your WordPress Site.

Step-2:
Click on the “Customize” button at the top of the page.

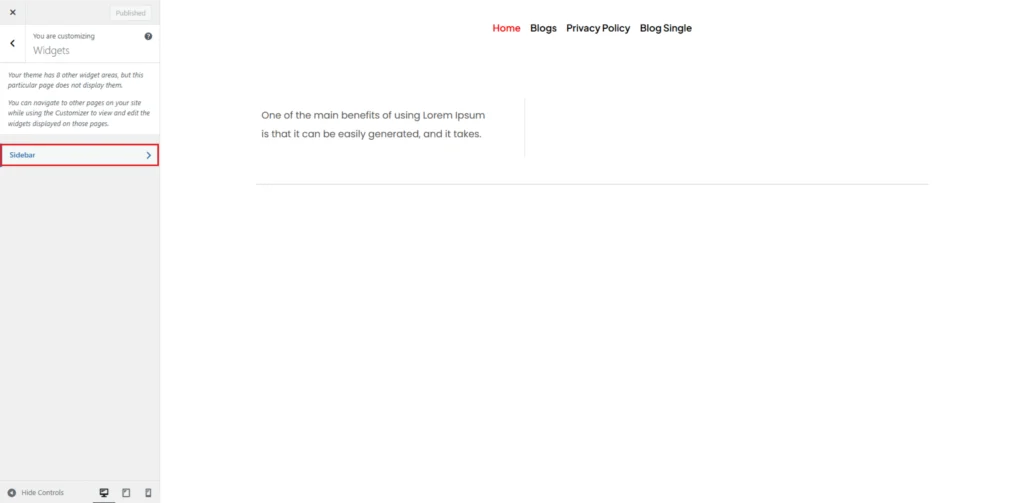
Step-3:
Navigate to Widgets>Sidebar.

Step-4:
To add a new widget, click the + (Add Widget) button. You can choose from various widgets, including Recent Posts, which display the latest blog posts, Recent Comments to show the most recent user interactions, Archives to list posts by month, and Categories to display a list of blog categories for easy navigation. Each widget comes with customization options, such as setting the number of displayed posts in the Recent Posts widget or choosing between a dropdown or a list format for the Archives widget.
Widgets can be rearranged by dragging them into the desired order. If you want to remove a widget, simply click on it and select Remove. Using the live preview feature, you can see how your sidebar widgets appear on your site before finalizing any changes. Once satisfied with the layout and settings, click Publish to save your modifications.


Note: We have also some widget locations registered in our theme.
- Footer Branding Widget
- Footer Navigation Widget 1
- Footer Navigation Widget 2
- Footer Navigation Widget 3
- Footer Navigation Widget 4
- Footer Newsletter Widget
- Social Accounts Links
- Offcanvas Logo
