Checkout
Step-1:
Log in to your WordPress Dashboard, and install the required plugin kirki Customizer Framework. After plugin installation, go to your WordPress Site.

Step-2:
Click on the “Customize” button at the top of the page.

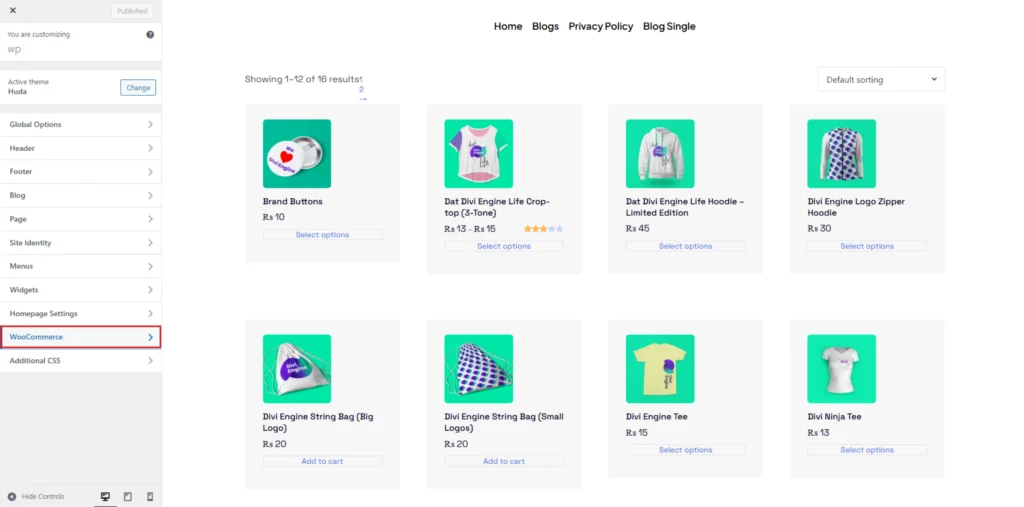
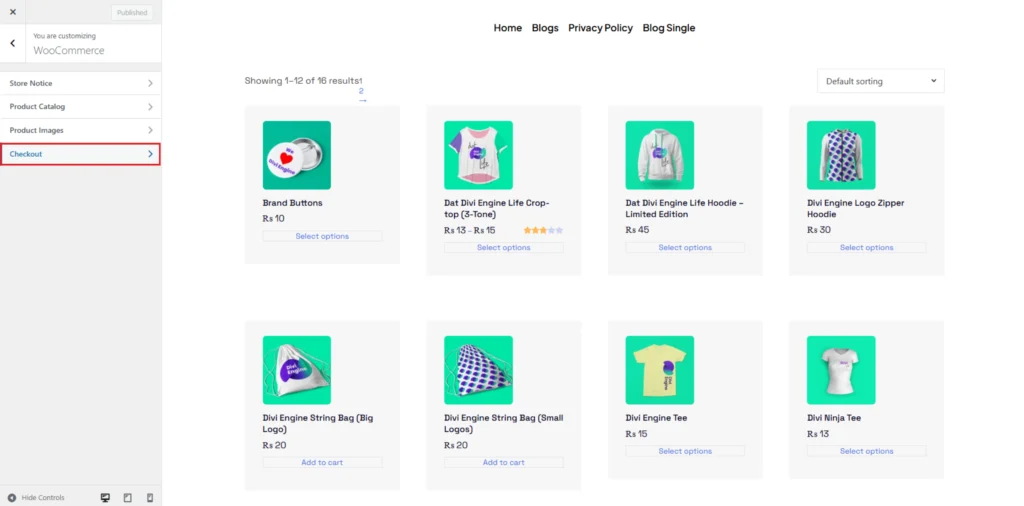
Step-3:
Navigate to WooCommerce>Checkout.
Step-4:
In the Checkout Settings section, you can modify the visibility of checkout fields. The Company Name Field and Address Line 2 Field can be set to Optional, Required, or Hidden based on your store’s needs. The Phone Field can also be toggled between Required or Optional, with an option to highlight required fields using an asterisk for better visibility.
You can also configure legal and privacy-related settings by assigning a Privacy Policy Page and a Terms and Conditions Page from the dropdown options. Additionally, there is a field to enter custom Privacy Policy Text, which appears during checkout to inform customers about how their personal data will be used.
